Configure Settings
| Prerequisite |
|---|
| If you have not set up permissions for NCR yet, please read the knowledge-base article “Installing NCR“. If you are not assigned to have permission of NCR Management, you may not be able to configure these settings. |
Navigate to the NCR Setup page. Review all of the settings. The settings in the image below are recommended as a good starting point. Which settings to configure will become more obvious as you test the software for your needs. You will notice that in this example, the requirement to specify a link or upload a document has been switched off.
You may also wish turn off the option to ‘Allow Database Files’. This will prevent the upload of any files into a NCR. Though uploading a Word, Excel, or PDF document might be wanted, you may decide that it may be better to keep files out of the database, and kept elsewhere. A link to the file could be provided instead.
Configure Lookup Lists
There are two sets of lookup lists that need to be configured. The first set are lookup lists for the NCR card itself, and the other set is for Non-Conforming Items listed on the card. These lists are provided as dropdown options on the NCR or the Items listed on the NCR, so you may better track the reasons and causes and report on them. It is recommended to leave the default items until you have tested and determined what values work best for your company.
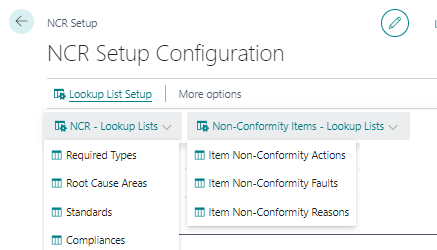
NCR – Lookup Lists
Required Types
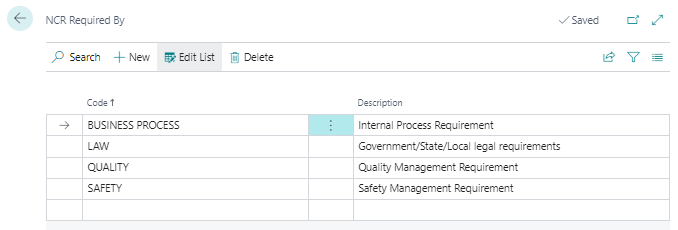
Required By is to designate the reason for the NCR; what required the NCR to be created.
Root Cause Areas
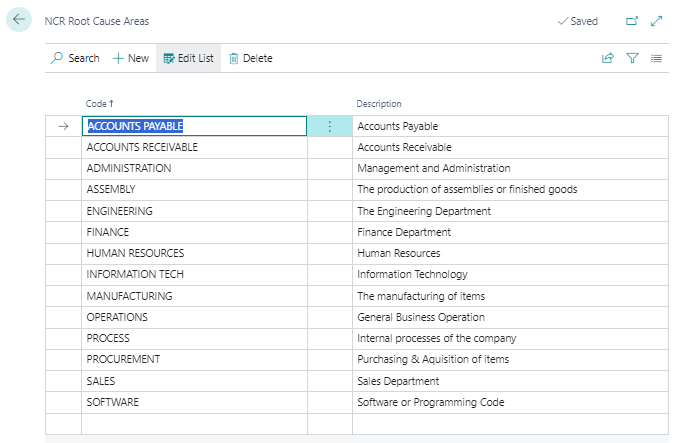
The Root Cause Area designates where in the company the NCR’s root cause was found.
Standards
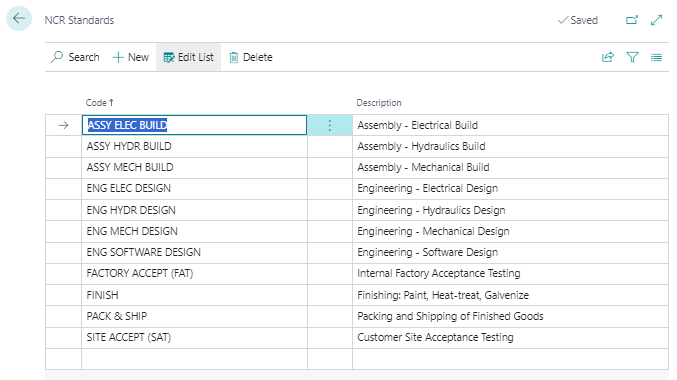
If the NCR was created because a violation or deviation of a company or regulator standard, the standard that was violated can be selected from this list.
Compliances
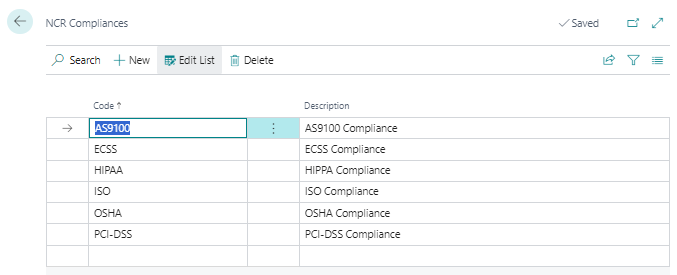
If the NCR was created because of a violation or deviation from a compliance, the compliance that was violated can be selected from this list.
Non-Conformity Items – Lookup Lists
Item Non-Conformity Actions
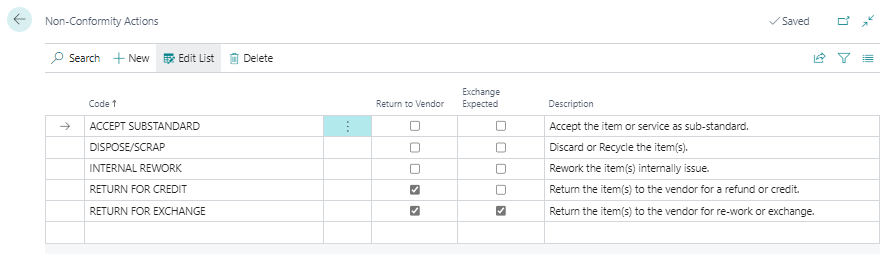
On an item listed in the NCR, you can specify the action that is to be taken to correct the issue with the item. Designating Return to Vendor means the item will be returned to the vendor, and if the Exchange Expected is not checked, there would be a Purchase Return expected for the item. If Exchange Expected is checked, it means that the item will remain in inventory or on a job, but the item is either being cross-shipped, or the vendor is re-working the item in some way and then it will be returned.
Item Non-Conformity Faults
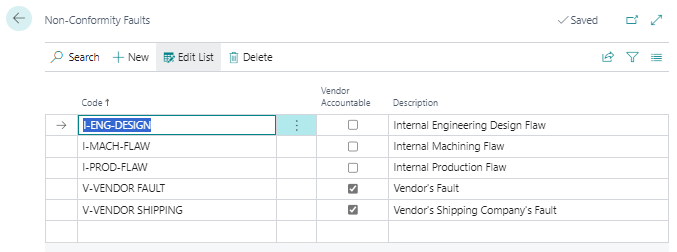
The Fault Code specifies who’s fault it is that the item is bad. This can be used for reporting such as vendor performance.
Item Non-Conformity Reasons
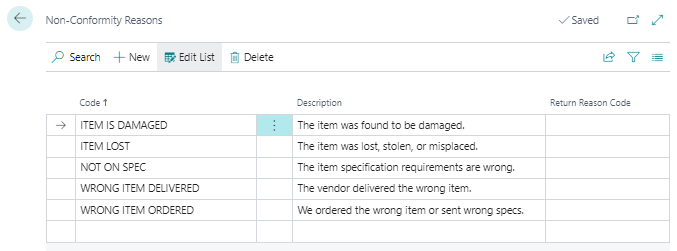
The Reason Code specifies the reason that the specific item is out of conformance.
Configure Email Notifications
Email Setup
Email is set up from the built-in wizard found on the ‘Email Accounts’ or ‘Set Up Email’ page in Business Central. From there you can specify email server configurations that BC can use.
Email Accounts and Email Setup are functions within Business Central itself and is outside the scope of setting up this extension. If you would like to use email notification and email has never been configured in Business Central, then you will need to contact your Microsoft Partner or support@itclad.com if you need assistance setting it up.
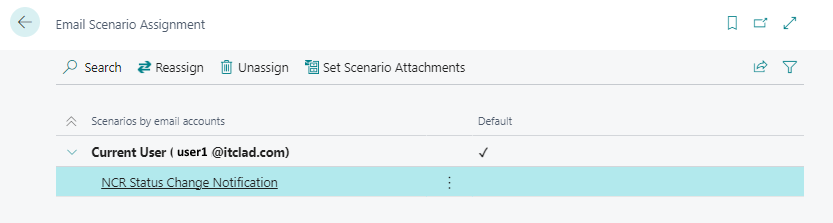
Email Scenario Assignment
An Email Scenario Assignment needs to be created to assign the NCR Status Change Notification only if you wish it to be assigned to an Email Setup other than the one specified as default.